3D Light Cube
LED Light Display

About
General Info
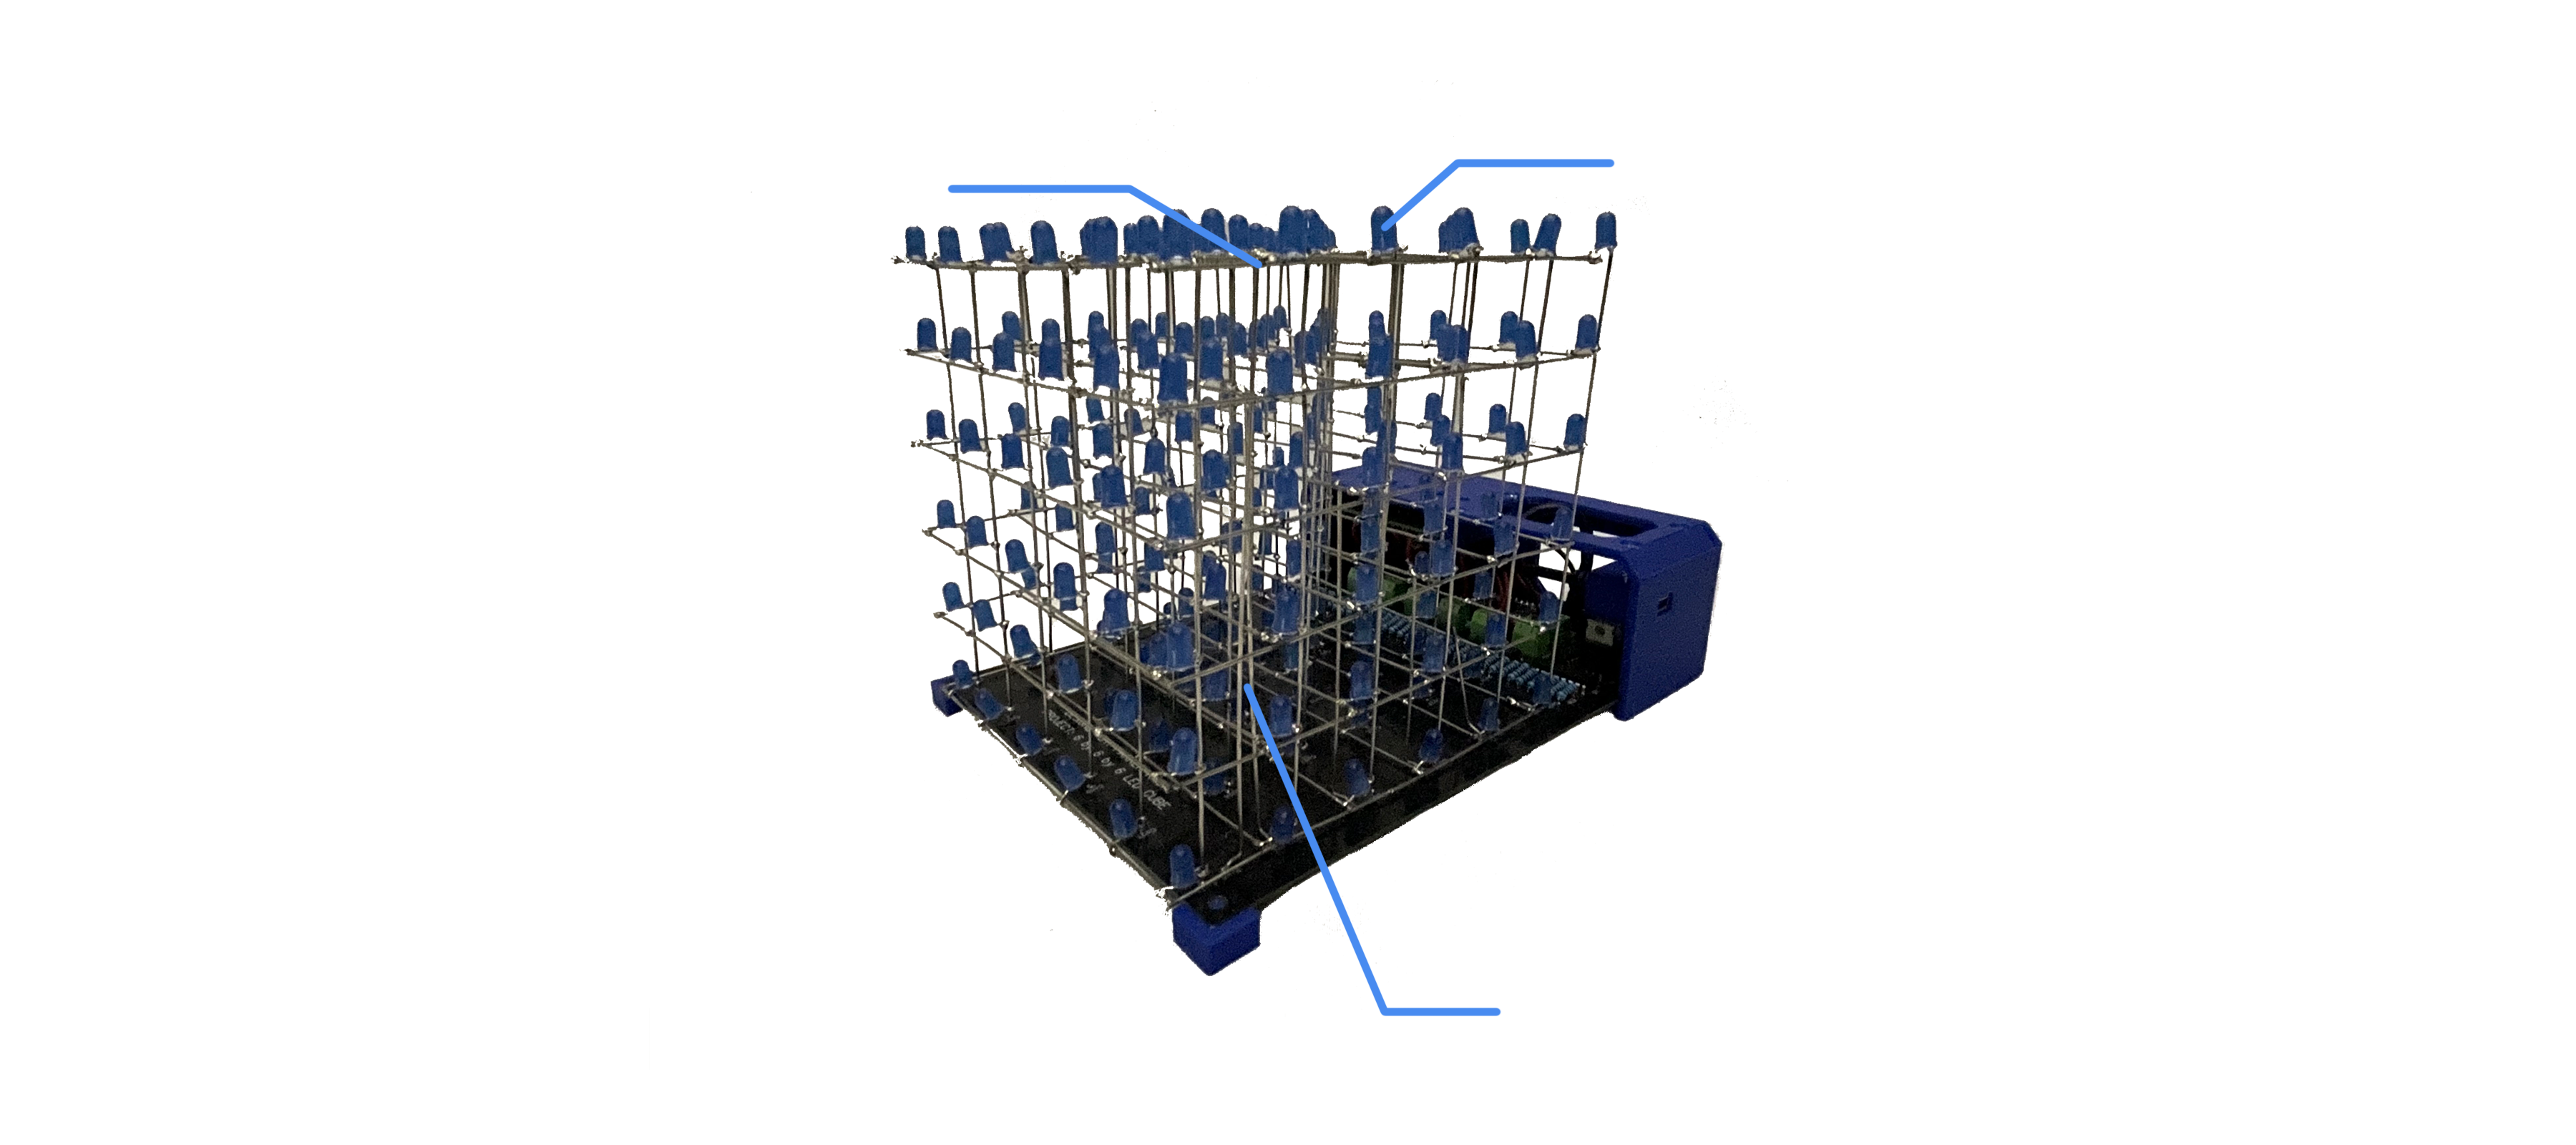
With 216 LED lights, this project at the time was the most electrically complex undertaking I have ever involved myself in. The Cube has a series of programs controlling the lights to perform visually aesthetic shows. The primary purpose of this project was to mature my skills in circuit design. A secondary purpose was to further develop my skills in computer programming. This project proved to be an enormous success! A self-designed , outsourced printed PCB, and self-developed robust and concise software made this project a success. This project extensively developed my technical skills and expertise in the field of electrical engineering.
Features
Project Functionalities
Circuit
Schematics
The schematics of this project is not something I originally thought of. I had to closely examine and reverse engineer other similar projects on the web. Using IC's in series, and transistors, many hundreds of lights can be controlled. Each LED can to a certain extent be individually controlled with only 4 pins on the Arduino Nano motherboard and through a series of SN74HC595N IC's. By turning on a negative terminal layer with a transistor on the cube of LED lights, the IC's could run current through intended columns forming an “intersection” of current, turning the specific LED on.
Programming
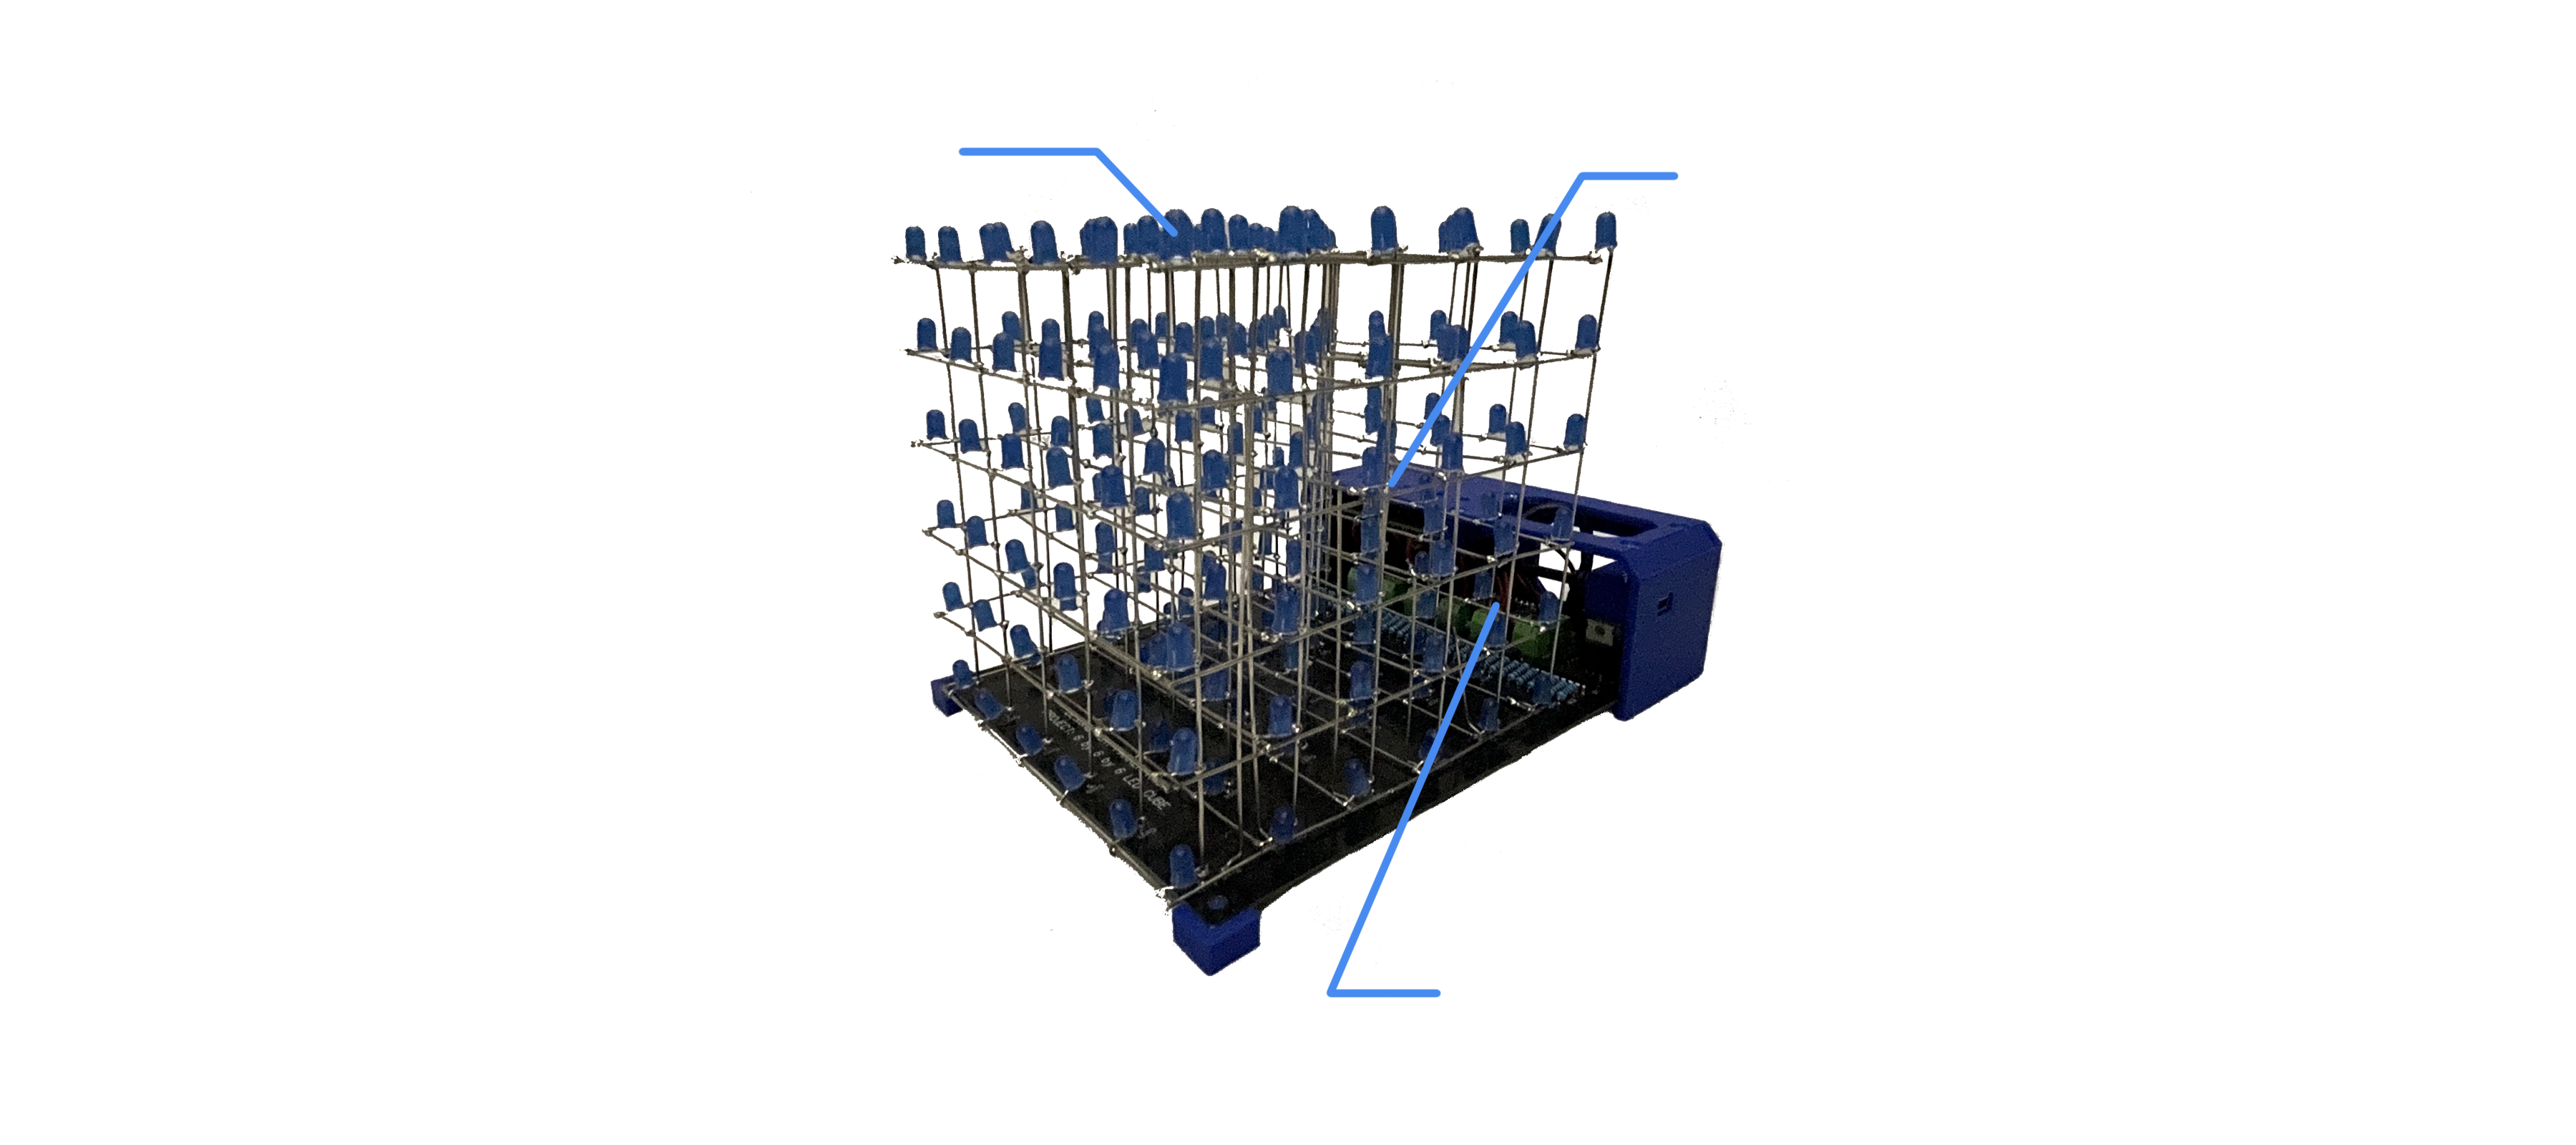
Object Oriented
Due to the inability to control every individual LED, a sophisticated object oriented program was necessary. To form a “frame”, a single image on the cube, the program displays each layer of the cube one-by-one, doing so at an FPS around 60+. In this way it fools the eyes to think every light is on when in reality every layer is rapidly flickering. Every bulb has its own x,y,z coordinate and unique ID number. This software, unlike the circuitry, was entirely and painstakingly developed by myself.
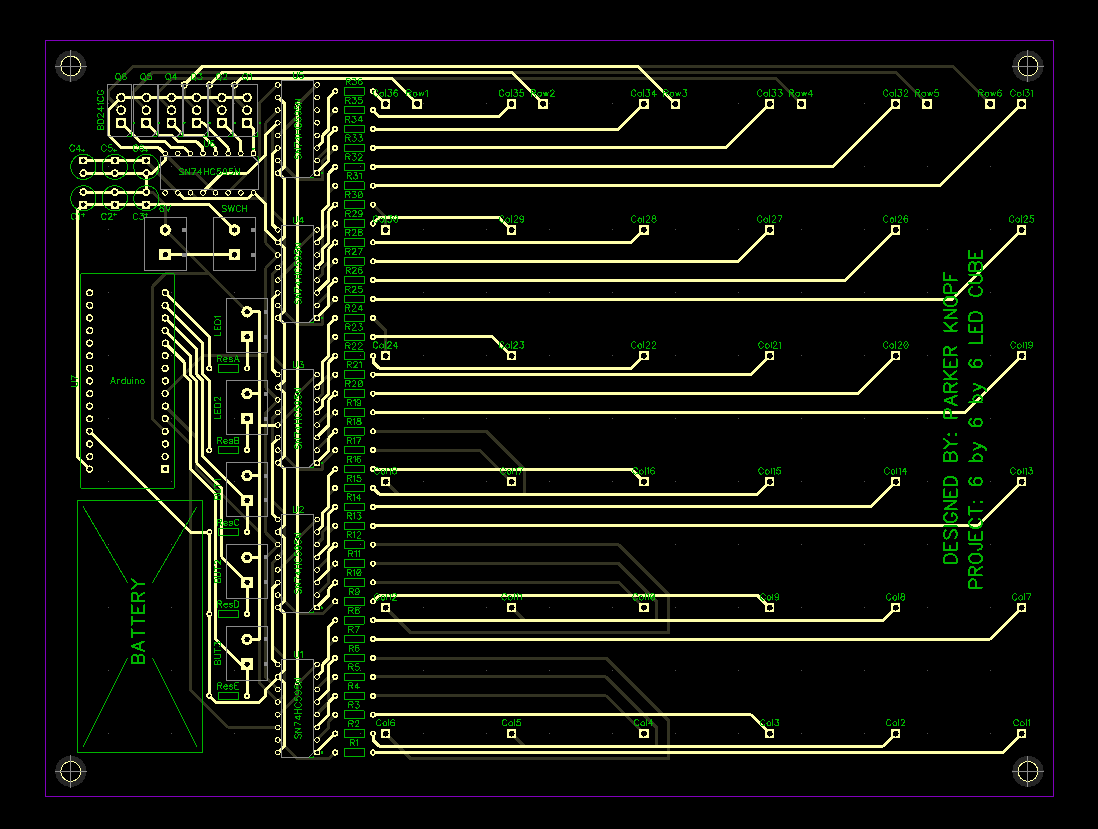
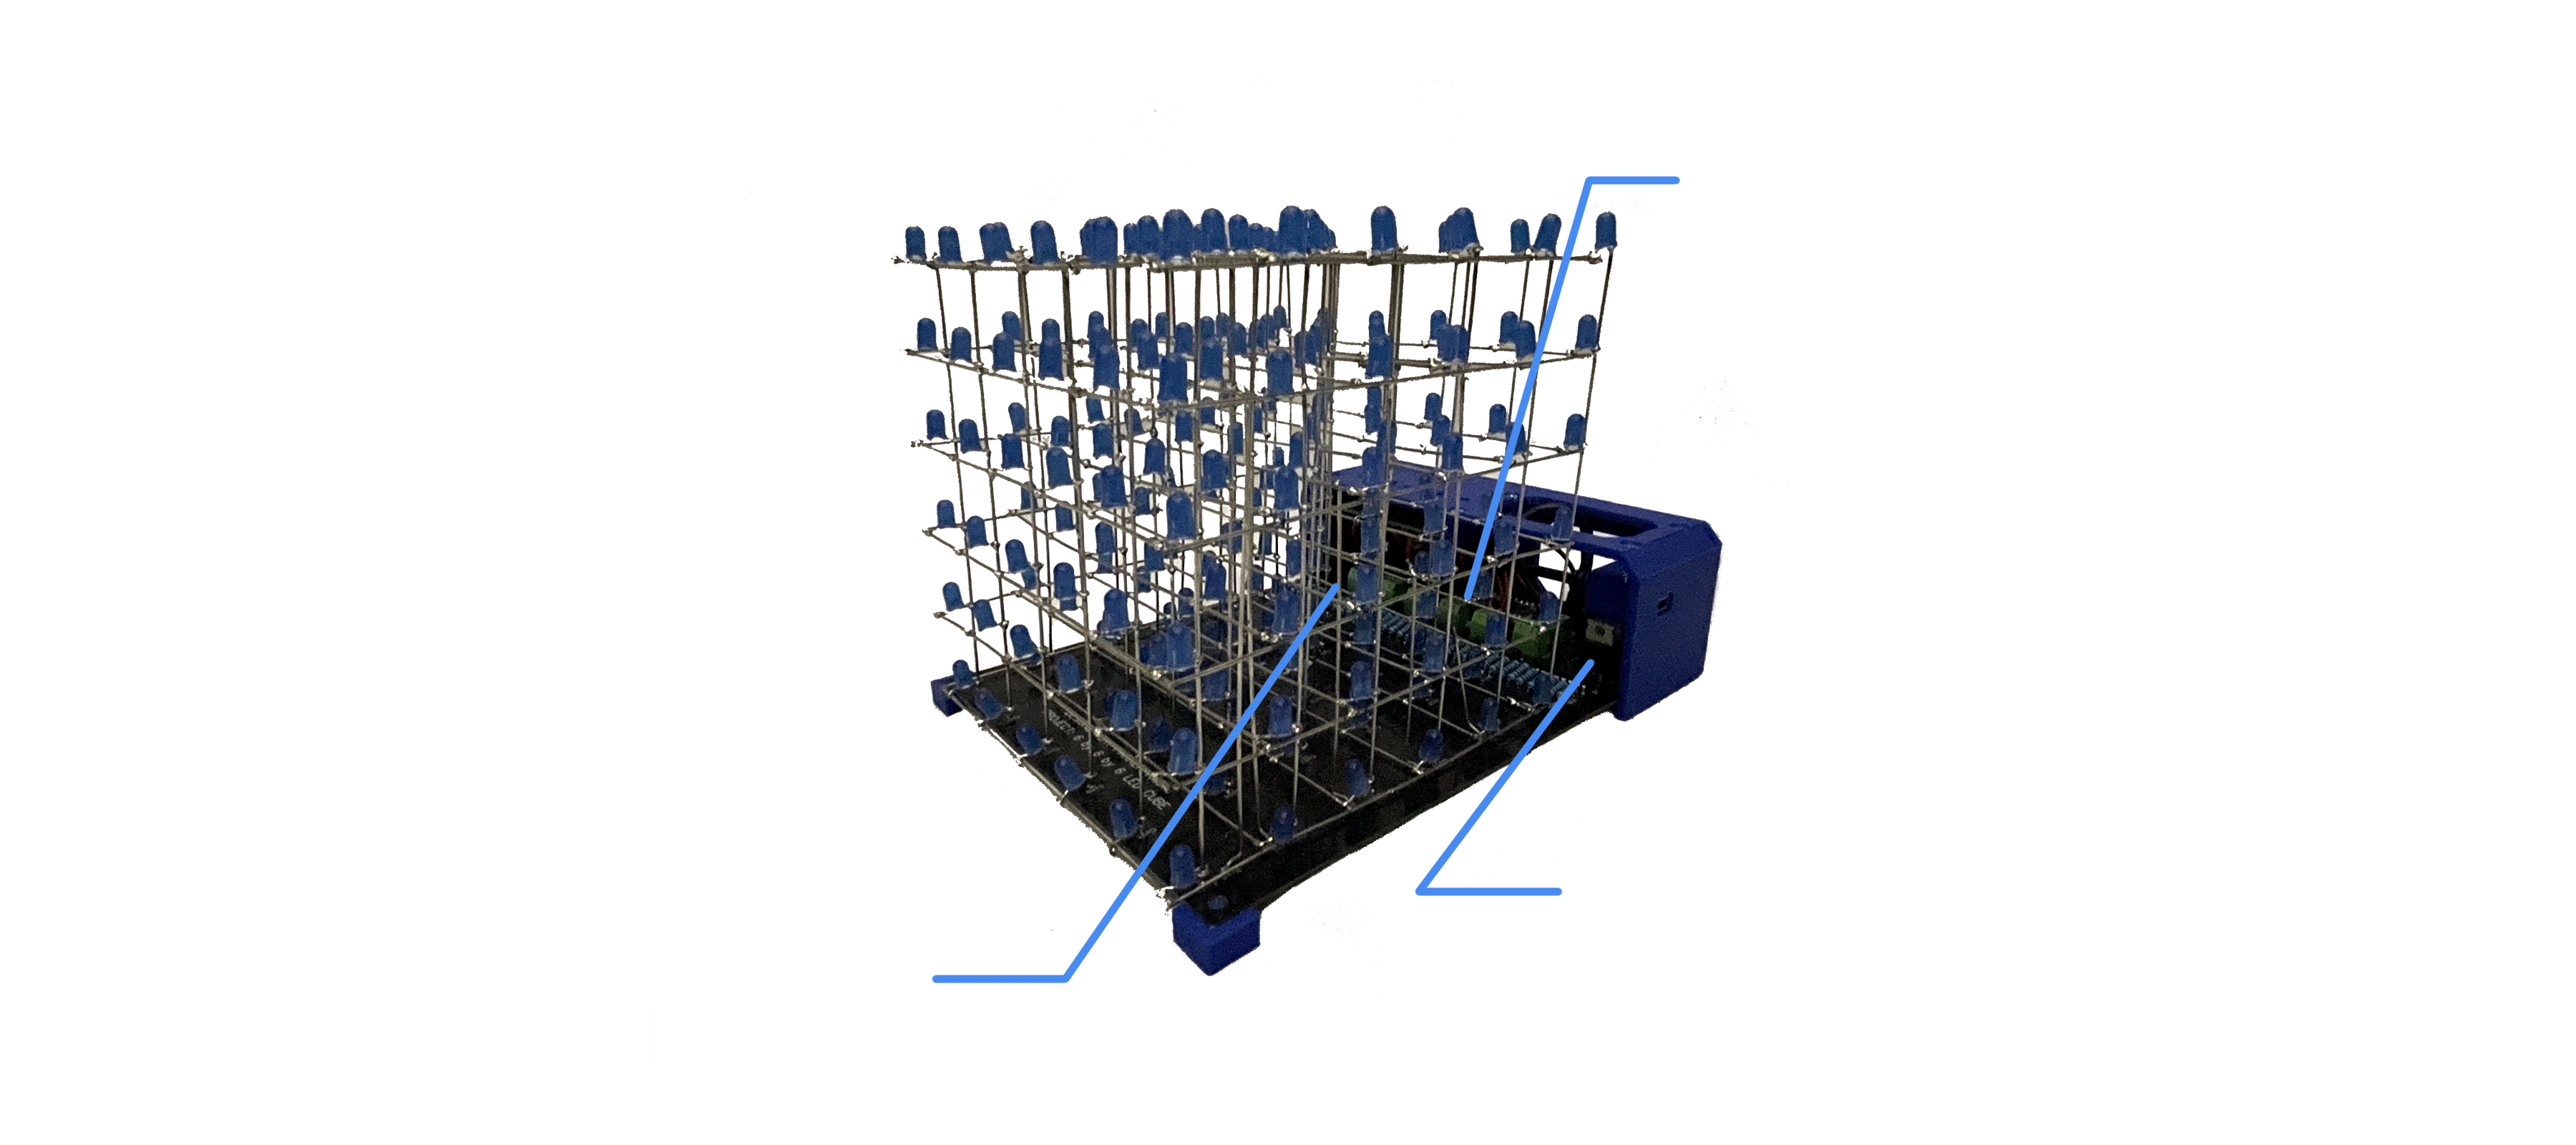
Custom PCB
Diptrace
The main body of this construction itself is a custom designed PCB. I began this project with no prior knowledge of PCB design. I self-taught myself Diptrace in both their schematic and layout programs. Using prior knowledge of electrical engineering I roughly, but successfully assembled a working PCB layout. Completing the design and on the first prototype, it worked as expected.